Getting Started
 Congratulations on getting a GoPiGo Raspberry Pi Robot Kit! These are instructions for the GoPiGo3. If you have the GoPiGo2, please go here.
This page and the sub-pages will help walk you through getting it set up and started. We recommend you go through each page, in the following order:
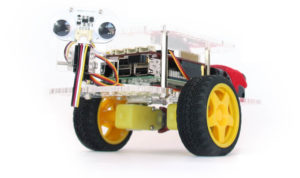
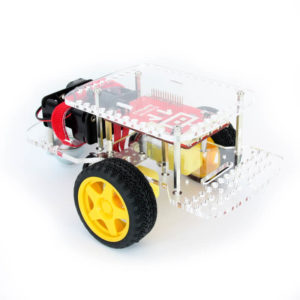
1. Assemble the GoPiGo3 (for accessories see below)
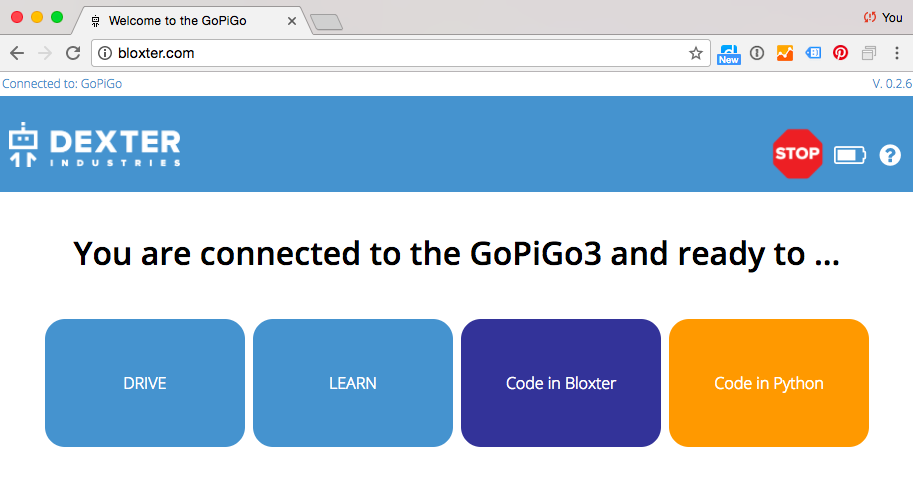
2. Connect to the GoPiGo3
3. Program Your Robot
Do even more with the GoPiGo3
- Projects & Curriculum for DexterOS
- Assemble the BalanceBot – A balancing robot with the GoPiGo3! (advanced)
- Run the BalanceBot (advanced)
- Attach the Camera and Distance Sensor
- Assemble the GoPiGo Servo Kit
- Assemble and Program the Line Follower
- Update your software
- Example Python Projects
After you have completed all the steps above, you can make something and share it with the community.
Programming
Programming the GoPiGo3
After you’ve assembled your GoPiGo3 and powered and connected to it, you’re ready to do some programming! We have 2 different operating systems, one for beginners called DexterOS, and one for advanced users called Raspbian for Robots.
 DexterOS for Beginners
Lessons
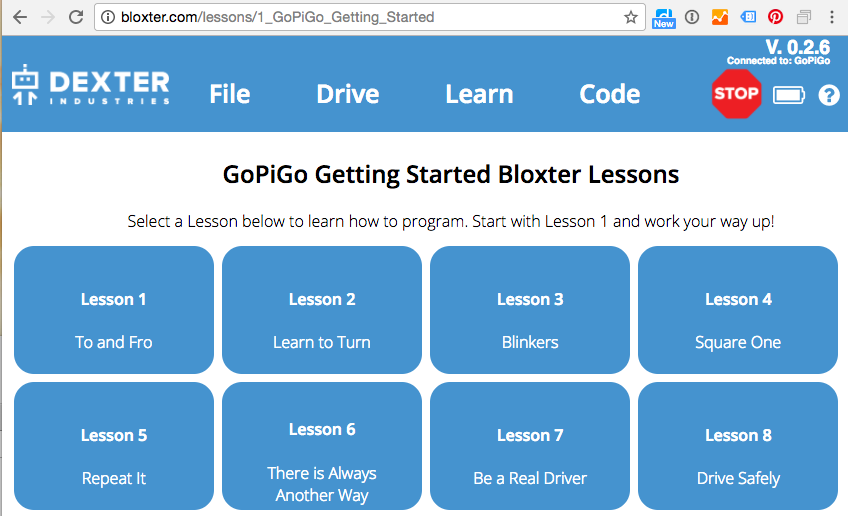
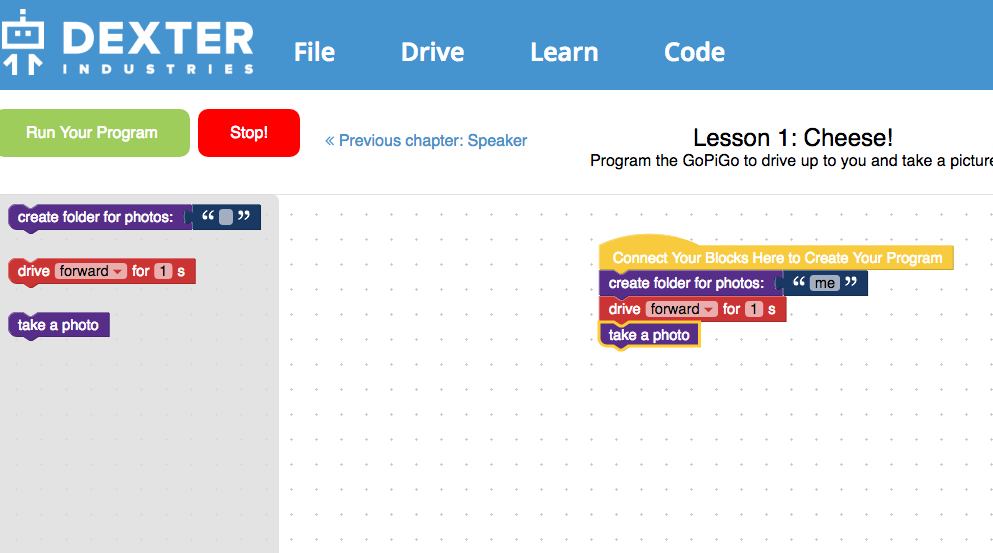
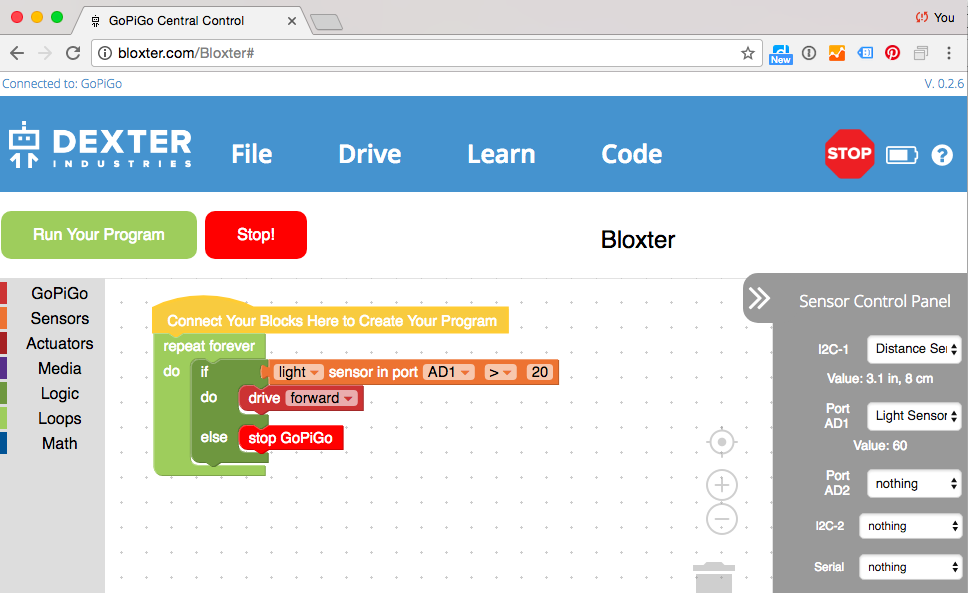
Code
Projects & Curriculum
 Python Programming for the GoPiGo3
 Scratch Programming for the GoPiGo3
 NodeJS for the GoPiGo3
Advanced Projects
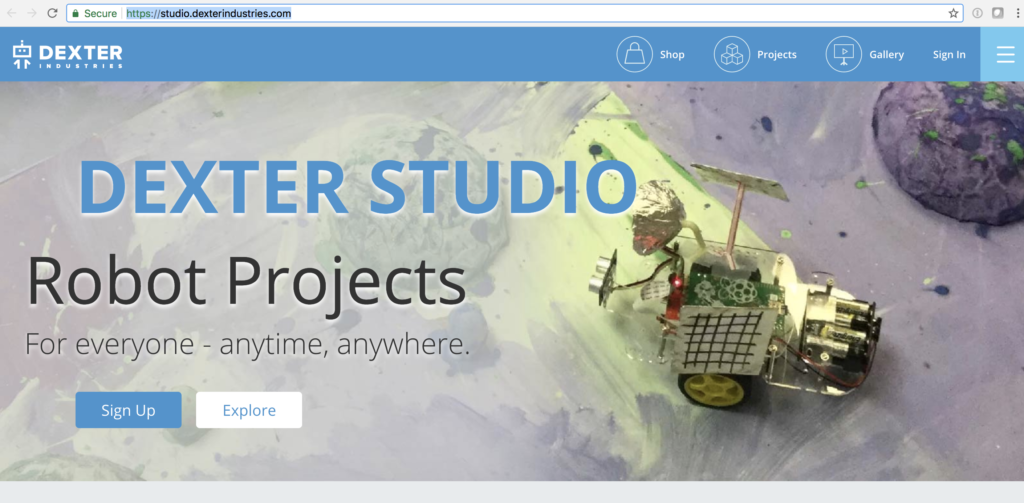
Users on the Advanced operating system, Raspbian for Robots can try out the following projects in Python & Scratch.
Each one comes with building instructions, a bill of material, as well as the code to get it going!
BalanceBot
Python Projects
- Video Streaming Browser Controller Robot
- Basic Robot Control
- Basic Servo
- Browser Streaming Robot
- Compass Guided Robot
- GPS Guided Robot
- Mouse Controlled Robot
- Office Cannon
- Drive GoPiGo with PS3 Controller
- Ultrasonic Basic Obstacle Avoider
- Simulate a Worm Brain with GoPiGo
- Ultrasonic Servo
Scratch Projects
News
GoPiGo3 Review by Raspberry Pi Foundation
“Last word 5/5 One of the best robotics kits you can buy, especially for teachers.”
GoPiGo2 at Hood College
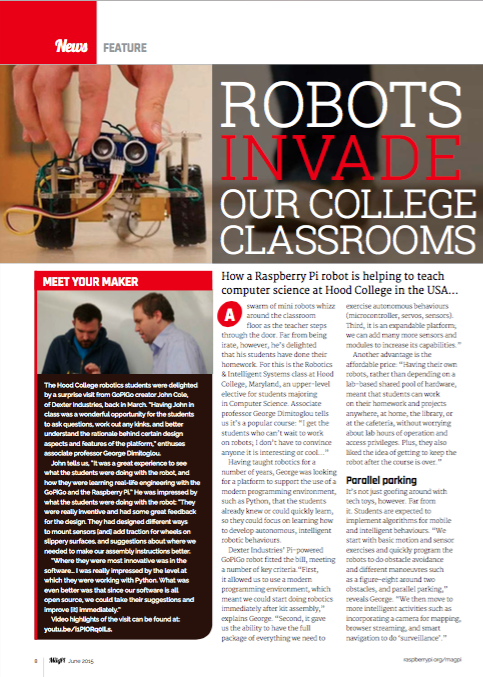
MagPi Raspberry Pi Magazine – “Robots Invade our College Classrooms”
June 2015,