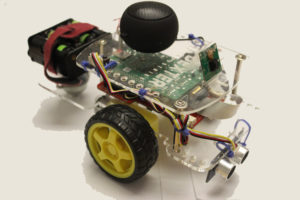
 In this project we built emotional intelligence into our robot: a robot that reads emotions. We call it EmpathyBot! We developed a Raspberry Pi Robot with the GoPiGo that will drive up to you, read your emotions, and then try to have a conversation with you based on how you’re feeling. We will show you how you can build your own DIY emotion-reading robot with a Raspberry Pi.
EmpathyBot Kit: $229.99
A Robot that Reads Emotions
If you’ve called into a bank, airline, or just about any large company, you may have had a quick conversation with a robot. It might not have been pleasant. But what if that robot had some Empathy? What if it could read your face, tell when you’re happy or angry, and respond accordingly?
Using Google Cloud Vision, we did just that: with a GoPiGo, a Raspberry Pi, Button, Speaker and a Raspberry Pi camera brought our robot to life.
Empathybot can detect happiness, sadness, anger, and surprise, then respond differently depending on what emotions it detects.
 Parts and Assembly
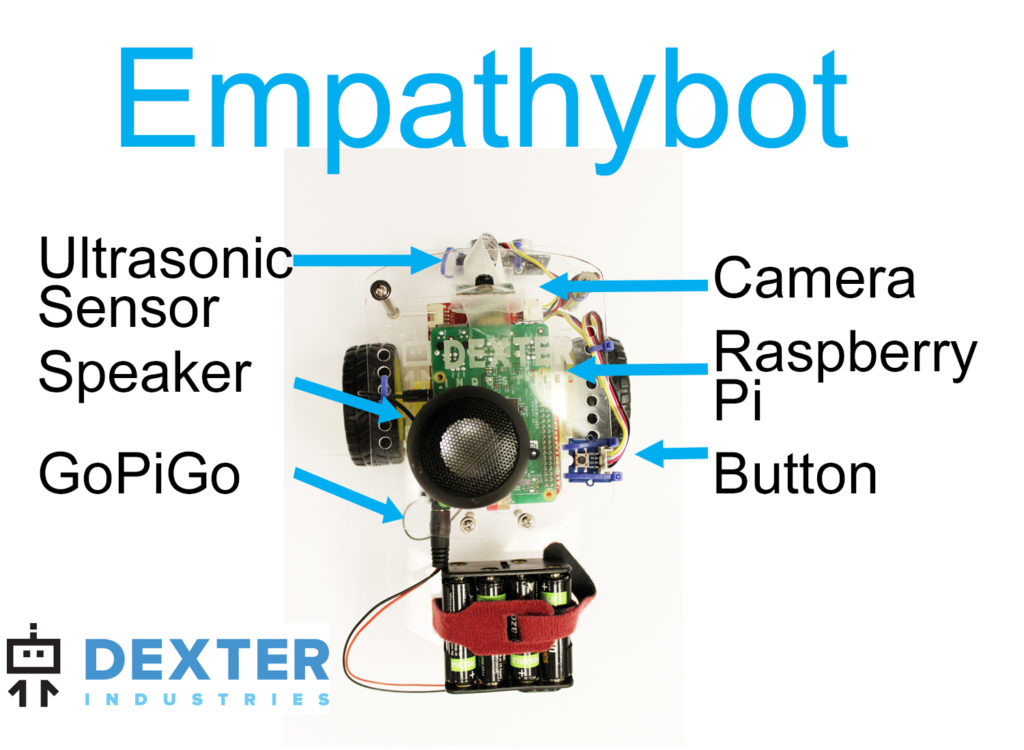
Get the EmpathyBot. It includes the following components:
- GoPiGo Raspberry Pi Robot – This is the body of the robot, and makes the project mobile!
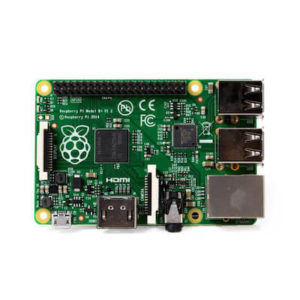
- Raspberry Pi 3 – The brains of the project. This will be the brains of the robot.
- Dexter Industries Wifi Dongle – This will make the robot mobile.
- SD card with Dexter Industries Raspbian for Robots – You can also download it for free here.
- Speaker – This will give the robot a voice!
- Grove Ultrasonic Sensor – This will tell us if we’re close to a human.
- Grove Button Sensor – This gives us a little more control of the robot.
- Raspberry Pi Camera – This will read the human face.
- Servo for the GoPiGo – This allows you to rotate the camera.
- Ethernet Cable – for setting up the GoPiGo initially before connecting it to Wifi
- Power supply – for powering the GoPiGo and Pi when you are programming it (to save battery power)
Full EmpathyBot Kit: $229.99
We have step by step instructions on how to build the GoPiGo here; it should take about 30 minutes to assemble and attach the necessary parts. Making the robot is the easiest part!
You’ll also need to attach the accessories. You can see our tutorial on how to attach the Raspberry Pi Camera to the GoPiGo. The Ultrasonic sensor is attached to Port A1 on the GoPiGo. We use a Grove Button to stop the robot if we need to stop it from falling off the table or something. You can also use it to initate the program and start the movement of the robot towards the subject. This is connected to port D11 on the underside of the GoPiGo.
 Software
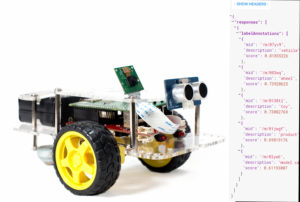
The software uses the Google Cloud Vision API. To run this project, you will need to setup an account and prepare a project. You can see how to setup an account and get started with Google Cloud Vision with the Raspberry Pi in this tutorial, or watch this video!
You can see the full code for the project here. This project assumes you are running Raspbian for Robots, which you can buy here or download Raspbian for Robots for free here.
Once you’ve gotten a JSON key from Google Cloud Vision and connected the Pi over the internet, you can simply run the program:
su
python empathybot.py
The program runs the robot forward until it detects a human. We stop the GoPiGo motors, take a picture, and send the picture to Google Cloud Vision. When the cloud reports back, we enter into our response routine, saying something soothing, or (if it thinks your angry) begging for mercy.
See the code in our Github repo here for more documentation.
 How It Works
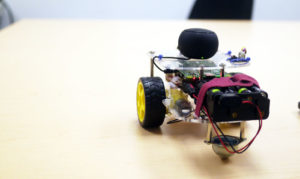
EmpathyBot uses the GoPiGo, a Raspberry Pi robot to move around the conference table. When it detects a person with the ultrasonic sensor, it stops. The ultrasonic (or distance) sensor measures distance from the GoPiGo to the human subject.
Once it’s close enough for a good look, it greets the person, and takes a photo. Using Google Cloud Vision software and the Raspberry Pi, EmpathyBot analyzes the face for emotions looking for happiness, sadness, surprise, or anger.
The robot sends the picture to Google Cloud Vision where your picture is analyzed, and then Google returns a text document (in JSON) of what emotions it sees in the picture.
Depending on what the software detects, the robot will ask you why you’re so happy, or sad, or . . . if you’re angry, remind you that it has a family. We use software called eSpeak to help Empathybot talk back to you, through the speaker. After the emotional interaction, Empathybot drives off to find another friend. The code is written in Python and you can look at it here.
 Testing
We wanted to give our system a bit of at test so we tried Empathybot on a few different subjects.
Adults
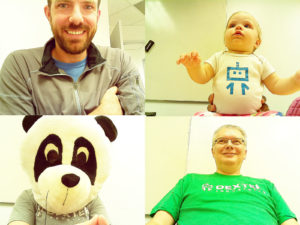
First, Adult humans – not a problem for this robot that reads emotions. In fact, Google Cloud Vision was very accurate on the sad and happy analysis. It was a little harder to figure out if the subject was angry or surprised.

Facial Hair
Facial hair seems to really throw the robot off. Purely anecdotal evidence, but after trimming John’s beard a bit, Empathybot was able to catch happy/sad emotions a lot more regularly.

Babies
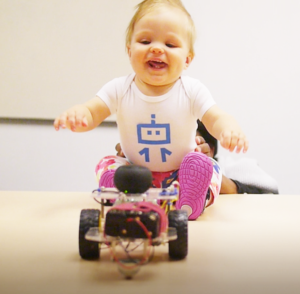
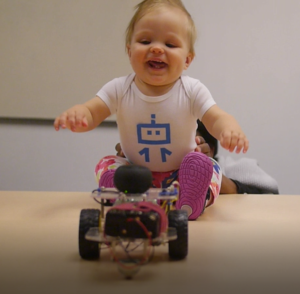
We tried this on a baby. Google Cloud Vision thought the baby was sad mostly. You can clearly see that the baby was happy though. Maybe those chubby cheeks threw it off.
Non-Humans
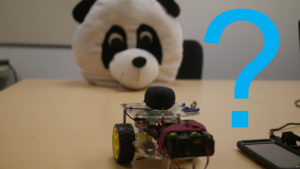
Non-humans were a total flop: we tried on at least two subjects: a poorly drawn stick figure and a Dexter Industries executive with a stuffed panda bear head on. Neither really got a reaction from Empathybot.
Future Improvements
In addition to being the perfect sidekick at a bar, Empathybot could become incredibly useful! For example, imagine a robot that reads emotions that can help the old and young throughout the day, and respond appropriately. It could be used in a medical setting to help diagnose patients, or even provide better services. The next time you’re screaming at a Comcast robot, remember Empathybot and try to envision a cute little Raspberry Pi robot who just wants to understand how you’re feeling!


