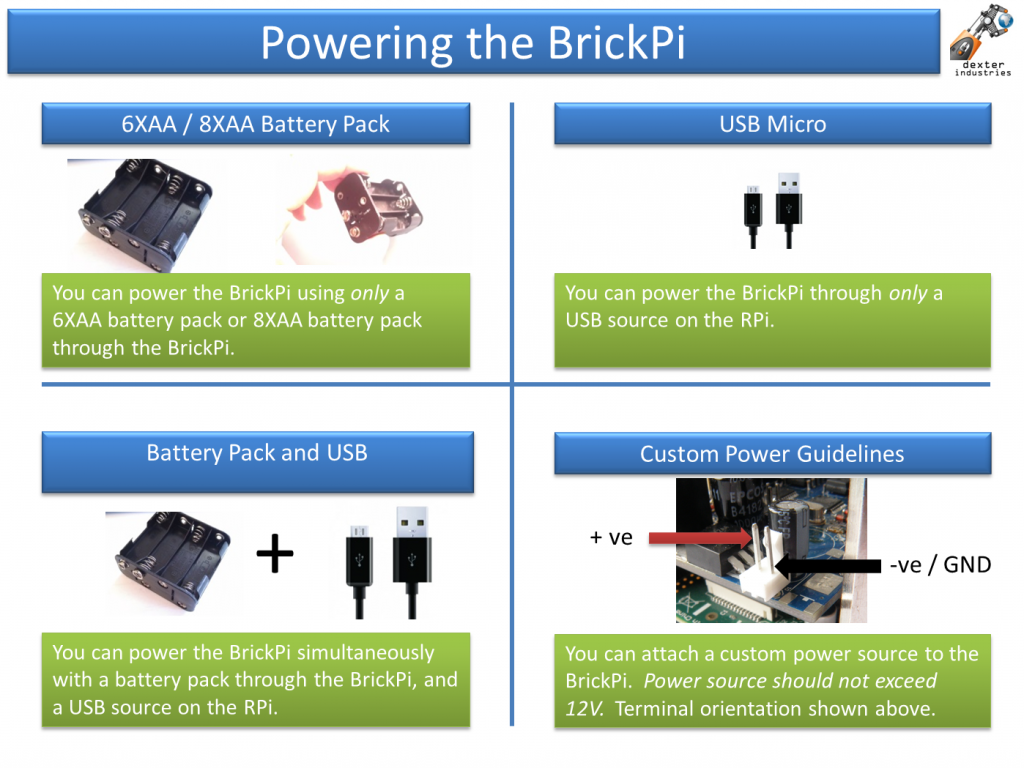
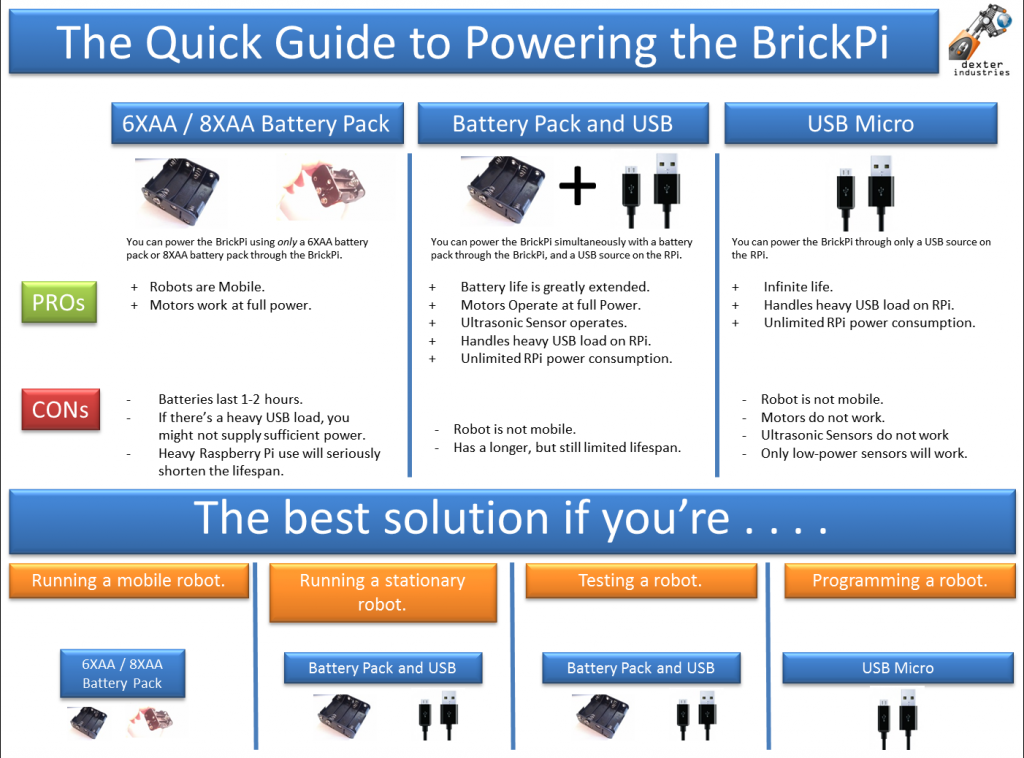
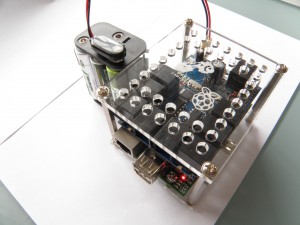
There are a few options for powering your BrickPi. Below we show these options for selecting a power source.
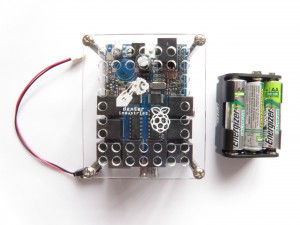
To the left, you’ll see the 9V adapter, the BrickPi, and the Battery Pack.
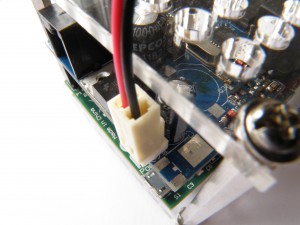
The 9V adapter has two wires: one is black, and one is red. The black wire is ground (negative or “-“) and the red wire is power (positive or “+”) for the purpose of this tutorial.
After a lot of experience, we have found that the BrickPi does not run well, or long, on a 9V battery. We recommend using a 6XAA or 8XAA battery pack (as shown in the picture to the right.
You can extend your battery life by running the Raspberry Pi and BrickPi off of the wall while programming.
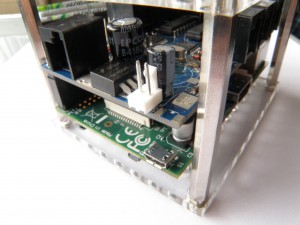
1). Locate the Power Connector on the BrickPi. You can see the power connector, which is white plastic, in the picture on the left. It should be just above the USB port of the Raspberry Pi.
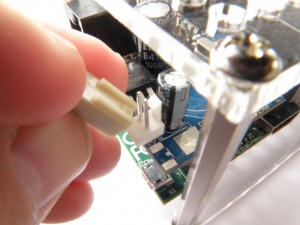 2). Slide the 9V adapter onto the white Power Connector. The 9V adapter that came with the BrickPi will fit only one way onto the board. The adapter plastic has a slot, seen in the picture to the left, that should line up with the spine of the Power Connector.
Another way to tell if your power connector is properly aligned: Ground (the black wire) should be closest to the closest metal post.
Be careful to align the 9V power cord correctly! Severe damage to the BrickPi and the Raspberry Pi can be caused by putting the cord in backwards.
3). Power up. After connecting the battery or the battery pack to the 9V adapter, you should see the BrickPi turn on. Note the red LED is glowing on the Raspberry Pi, indicating that power is on.
Questions? Ask on theBrickPi forum here.


