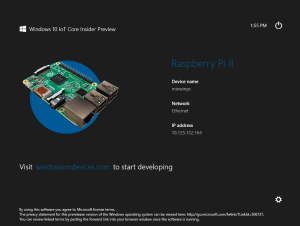
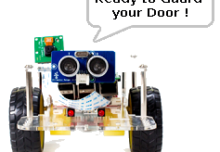
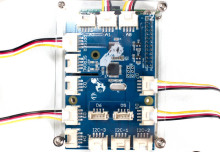
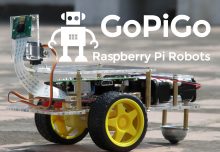
 Windows 10 support for the Raspberry Pi. Almost immediately, our forums were on fire with the question, “Will the GoPiGo work with Windows 10?”.
We can now emphatically say “Yes”! However, it was a lot of work getting there.
First, let’s take a step back and acknowledge that Windows 10 isn’t open source, and that’s not entirely in-line with Dexter Industries mission of teaching robotics with open source technology. However, because of the popularity of Windows, and the fact the Microsoft has made Windows 10 on Raspberry Pi free for individuals, we were excited to see if we could bring the GoPiGo to even more developers in the world. Hopefully by growing the open source software around the Raspberry Pi and around the Windows environment, we’re making robotics more accessible for everyone (even Windows developers!).
 Two courageous contributors, Steve and Paul, took off with the idea of bringing the GoPiGo to Windows 10. They did the heavy lifting, while Karan and I just tried to keep up. One challenge to getting set up was that the directions require you to have Windows 10 setup on a PC first. Fortunately, I don’t throw away any hardware, and I had an ancient PC sitting around. After a bit of time upgrading to Windows 10 . . .
I found a few tutorials on installing Windows 10 on the Raspberry Pi. To be honest, none of them worked by themselves, this is still pioneer territory. If you choose to accept this mission and install the Windows 10 on the Raspberry Pi, I would use these helpful tutorials:
- Official Microsoft Getting Started Page for the Raspberry Pi 2.
- Setting up Windows 10 for IoT on your Raspberry Pi 2 (Scott Hanselman)
 While I’m struggling to get setup, meanwhile Steve and Paul are cranking out the new code and examples. They did an amazing job and wrote out some easy examples. You can see the code in Github here:
https://github.com/DexterInd/GoPiGo/tree/master/Software/CSharp
And you can check out three tutorials for getting started on our brand new Hackster Account:
- Windows 10 on the GoPiGo
- GoPiGo Windows 10 IoT Core Headless Application
- Untethered: A Remote Control for the GoPiGo!
Below is a video of the GoPiGo testing servo control, which you can control through a visual interface.
If you’re just starting out with either the Pi, Windows 10, or Visual Studio I highly recommend you start with the first tutorial. Paul and Steve did a fantastic job of walking you through getting setup and getting the Raspberry Pi and GoPiGo working with Windows 10.
Here’s my exciting first run of the GoPiGo on Windows 10:
In my personal experience, I think there are a couple of advantages to the new Windows Operating System on the Raspberry Pi:
- Great interfaces are really possible. Steve took the lead on putting together a really nice looking interface for the GoPiGo example. Visual Studio gives the opportunity to really write some beautiful looking interfaces.
- Lots of folks run Windows. Ubiquitous it still is! Having a native platform for the Pi will have it’s advantages.
- Visual Studio is still a great environment to develop code in. It’s pretty, it’s powerful, and it it is your best option of C#. Once you learn it, it’s great.
There are a few drawbacks to the new system and I hope that Microsoft can address them. Hopefully they can address:
- It’s painful to install the image and get started. It’s a process where Noobs is pretty easy to get going.
- Directions are still a little unclear. Putting Windows 10 on a card is not too confusing. However, getting some code up on Windows 10 is a lot more complex than running a Python program.
- Wifi doesn’t work. Yet.
- You need Windows 10. Indeed, this might not change. Microsoft no doubt wants to sell software, and we may not see an easier way for Windows 7 folks to get in on the action any time soon. You might need to just bite the bullet and upgrade to Win 10!
We look forward to seeing what you build with Windows 10 and the GoPiGo. Please let us know, and share it with us via Facebook, Twitter, Hackster, or carrier pigeon.
0 Comments
Leave a reply
You must be logged in to post a comment.


