Windows IOT and the GrovePi
Windows IoT (WinIoT) is available for the GrovePi, making it easier for C# developers and Windows developers to prototype their Internet of Things and connected devices. We have developed step-by-step tutorials for getting started with Windows IoT and the GrovePi below.
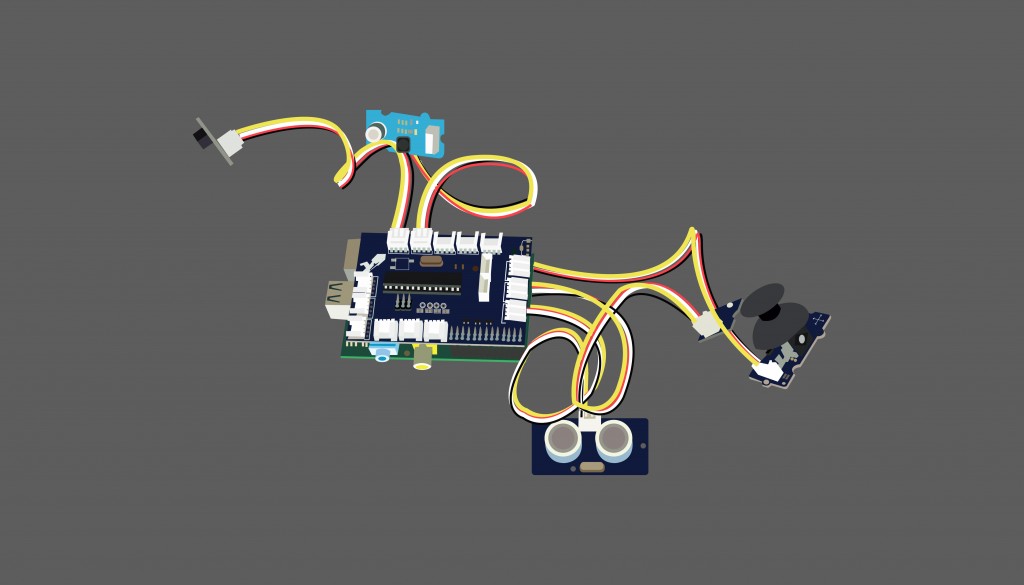
The GrovePi is a simple and fast way to get started making connected devices for the Internet of Things, especially for software developers and others who want to get started quickly. The GrovePi enables you to start building your connected Internet of Things devices with little to no electrical engineering experience: plug in the sensors and actuators you want to use, and go!
 Our tutorials focus on getting started with the GrovePi Base Kit and WinIoT. The GrovePi Base Kit comes with a number of sensors for the Raspberry Pi and gets you started with the plug-and-play system. With a number of common plug-and-play sensors like a button, a light sensor, LEDs, Temperature and Humidity, the GrovePi Base Kit is a simple and fast way to get started making connected devices.
1. Setting up your Computer and Raspberry Pi
All the information you need on setting up your computer and preparing your PC and your Raspberry Pi for operations. This tutorial covers pre-requisites, software installation, and setting up the Raspberry Pi.
2. Run Hello World in WinIoT
Your first Internet-of-Things Device! Simple and quick, this will introduce you to programming the GrovePi, the C# programming environment, and other
3. More WinIoT GrovePi Samples and Examples
Here we go over other Sample programs we have in our Github repo. We have an example for each sensor in the GrovePi+ Starter Kit.
Did we miss something? Ask us about it on the forums here!


