This is a short guide to setting up the Arduberry. In this guide we assume that you have already connected the Raspberry Pi to the internet.
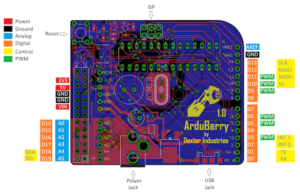
Here is a pinout diagram of the Arduberry describing what the various pins and parts of the Arduberry can do.
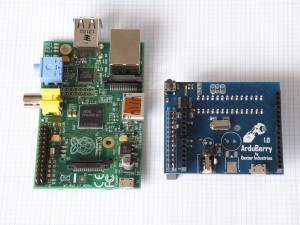
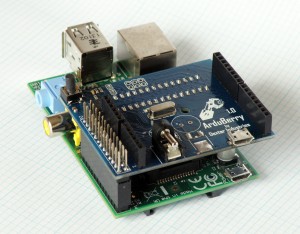
1. Stack the Arduberry on top of the Raspberry Pi and power on the Raspberry Pi
2. Open a New Terminal
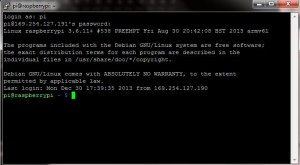
Open a new terminal, either on a monitor or using SSH (we’ll be doing it on SSH, but the commands are the same). If you are using the Raspberry Pi setup as a desktop, you can use LXTerminal too.
3. Clone the Arduberry Repository
This step is NOT necessary if you’re using Raspbian for Robots (Dexter Industries Software for the Raspberry Pi).
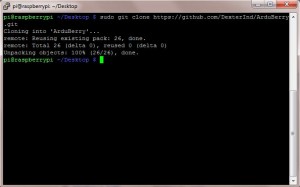
Once the you have the terminal opened go to Desktop (/home/pi/Desktop) and clone the git repository. Make sure to clone the repository on the Desktop or the Arduino IDE might not work properly:
git clone https://github.com/DexterInd/ArduBerry.git
When its done, there a new folder called “ArduBerry” will show up int the current folder.
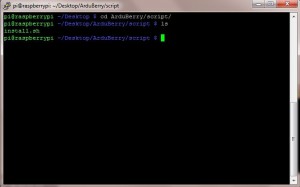
Go to the Scripts folder in the ArduBerry folder.
cd ArduBerry/script
4. Run the Installation Script
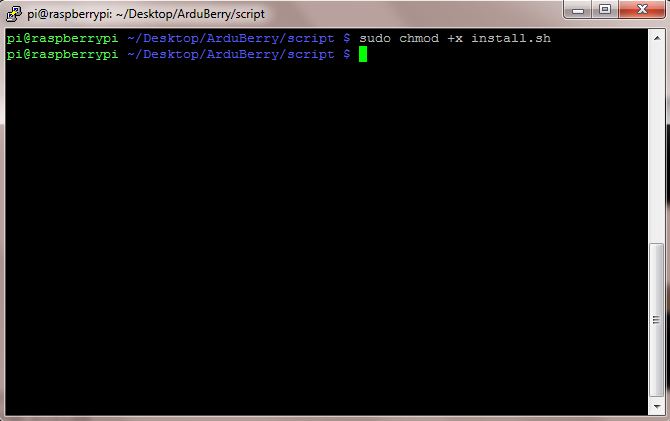
Make the install.sh bash script as executable
sudo chmod +x install.sh
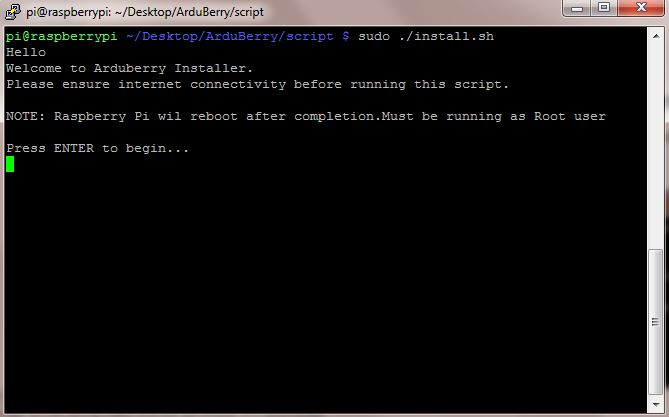
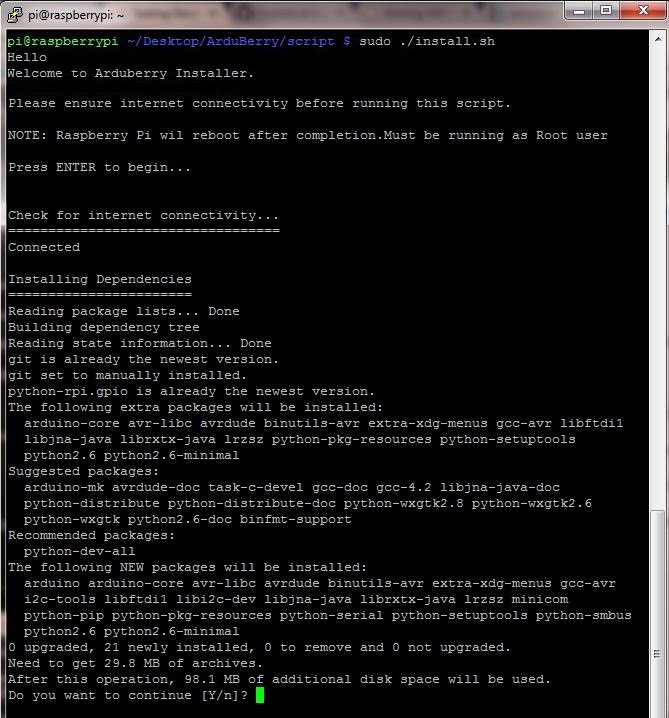
Start the script as root user (Make sure that the Raspberry Pi is connected to the internet before starting. )
sudo ./install.sh
Press “Enter” to start when you are prompted.
The script will download the necessary packages used by the Arduberry.
The script will prompt you to install the packages. Press “y” when the terminal prompts and asks for starting the download.
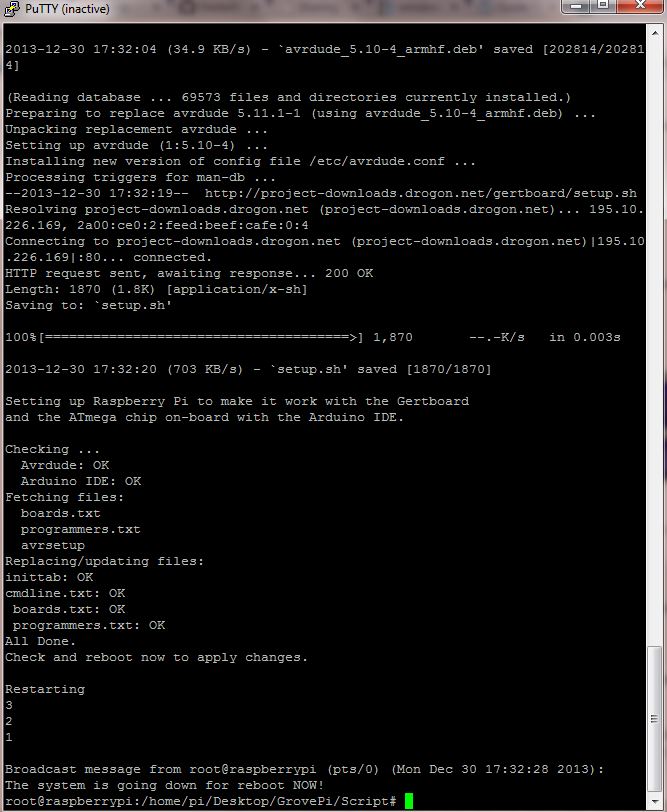
5. Reboot
The Raspberry Pi will automatically reboot when installation is complete.
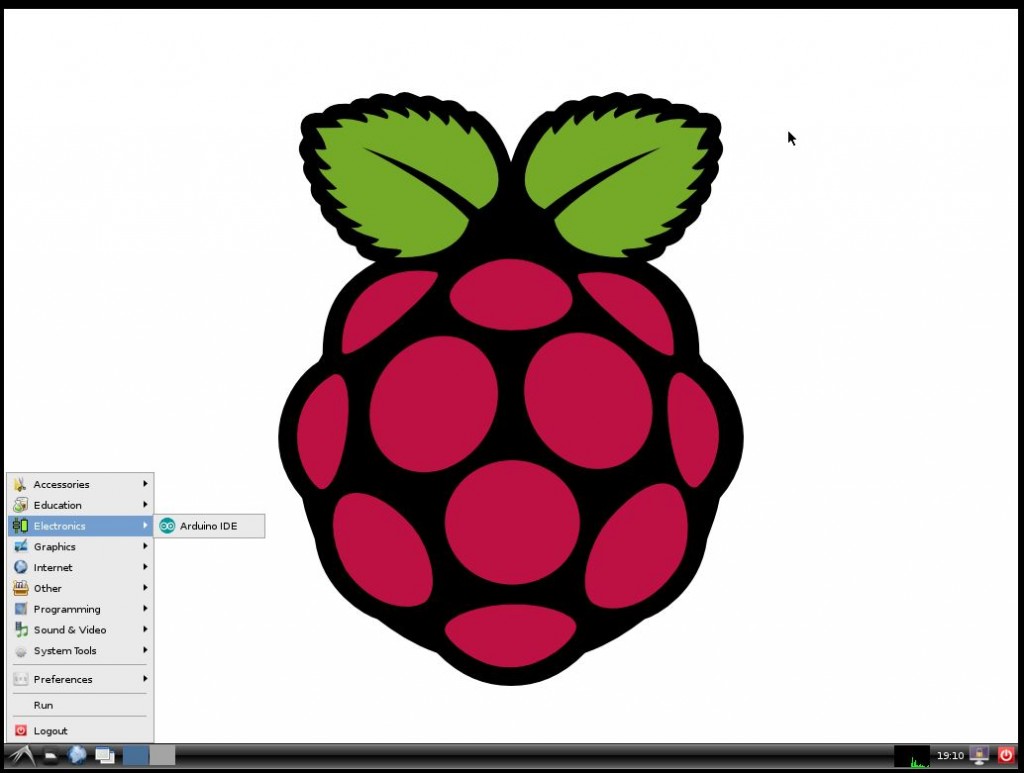
6. Open Arduino
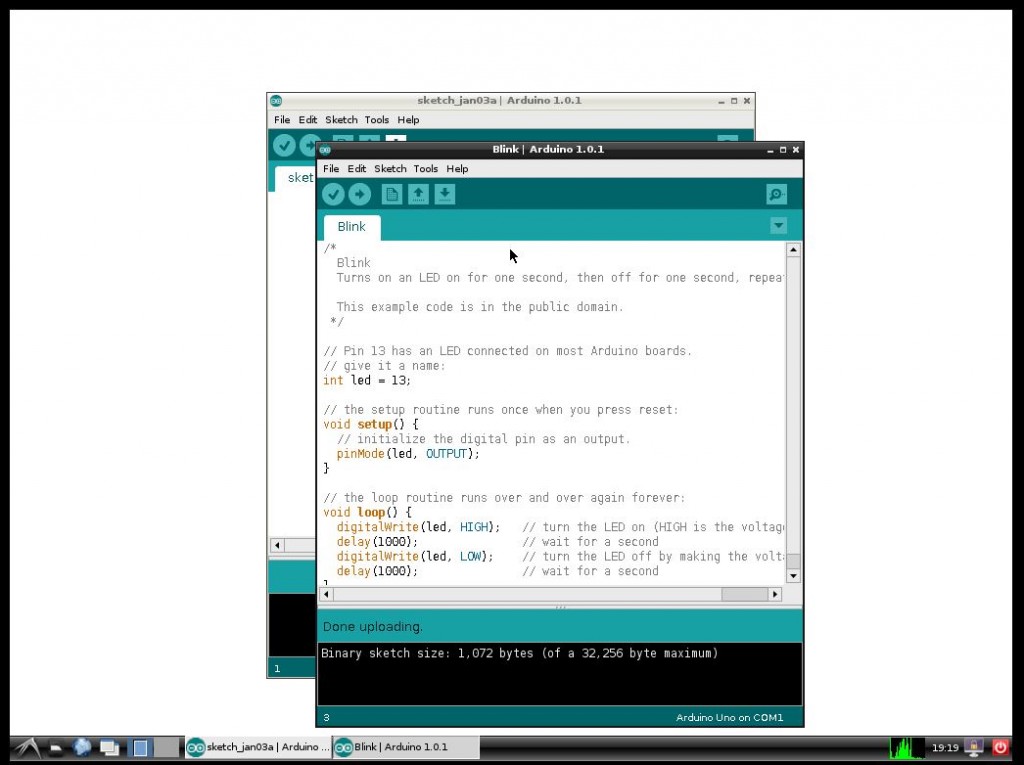
After the Raspberry Pi has restarted, open the Arduino IDE on the Raspberry Pi .
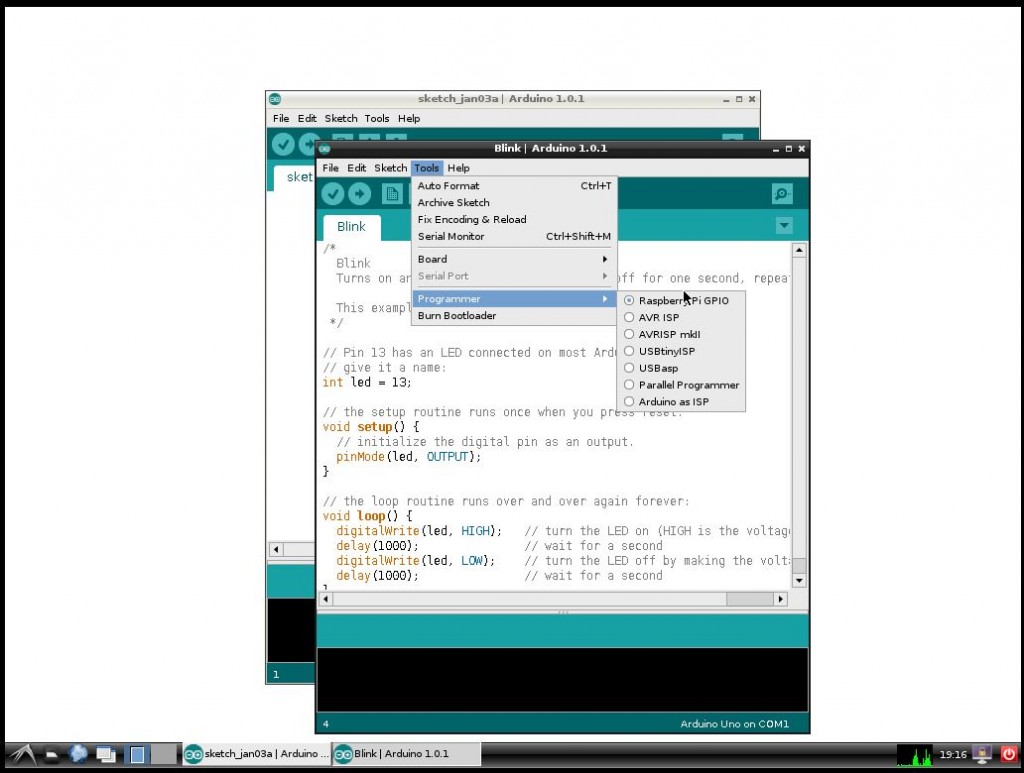
7. Select the Programmer
In Arduino, change the programmer to “Raspberry Pi GPIO”. Go to Tools -> Programmer -> Raspberry Pi GPIO
8. Load an Example Sketch
Load an example sketch, such as the blink tutorial, and press “Upload using Programmer” in the File Menu. (Ctrl+Shift+U to upload).
9. Success
If everything is installed correctly, the LED should start blinking!
The ArduBerry is now fully installed.
Got a question? Got a problem? Post it on the forums!


