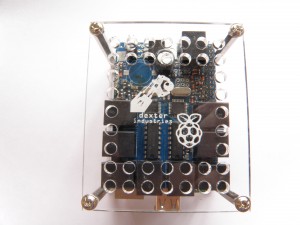
The BrickPi Basic Case is compatible with the Raspberry Pi B, B+ and 2. For instructions on how to assemble the Basic Case with the B+ & 2 look here.
Assemble the BrickPi Basic Case with the Raspberry Pi B:
You will need a Phillips head or flat head screw driver.
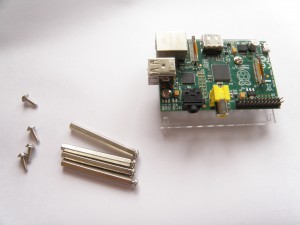
1). Unpack the hardware. The acrylic case comes in its own bag, and the screws and posts come in a separate bag. You should have two acrylic boards: the top board has the Dexter Industries logo etched on it, and the bottom has no laser etching.
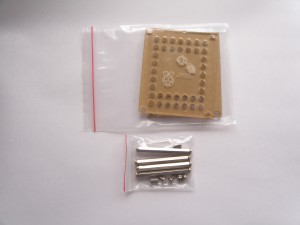
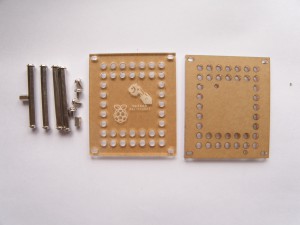
2). Remove the protective paper. Peel back the paper wrapping from the plastic casing parts.
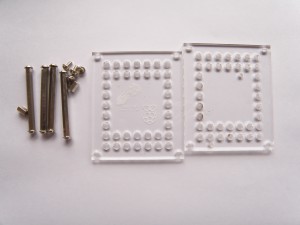
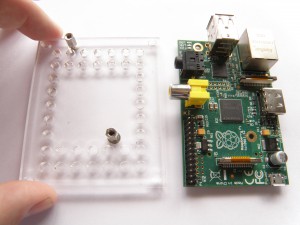
3). Using a screwdriver, screw in the two smallest posts to the bottom plastic. Tighten the screws on the posts.

4). Line up the Raspberry Pi so that the two mounting holes are lined up with the two small posts attached in step 3. Attach the Raspberry Pi to the two posts. Be careful not to touch electrical components on the Raspberry Pi with the screwdriver.
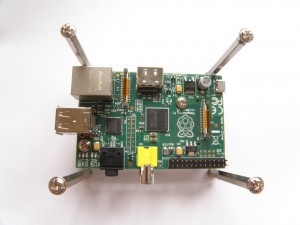
5). Attach the four long posts to the bottom plastic. Leave the screws loose.
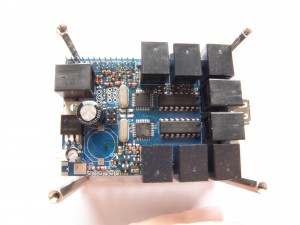
6). Attach the BrickPi to the Raspberry Pi. Slide the BrickPi firmly in place.
(note: if you are using the Raspberry B+ or 2, please be sure to follow the instructions here, to make sure you align the 40 GPIO pins correctly or you can damage the BrickPi)
7). Attach the case top to the four long posts. The logo etching should be facing the Raspberry Pi. Leave the screws loose.
8). Tighten all 8 screws on the BrickPi case.
You now have a fully assembled case!


