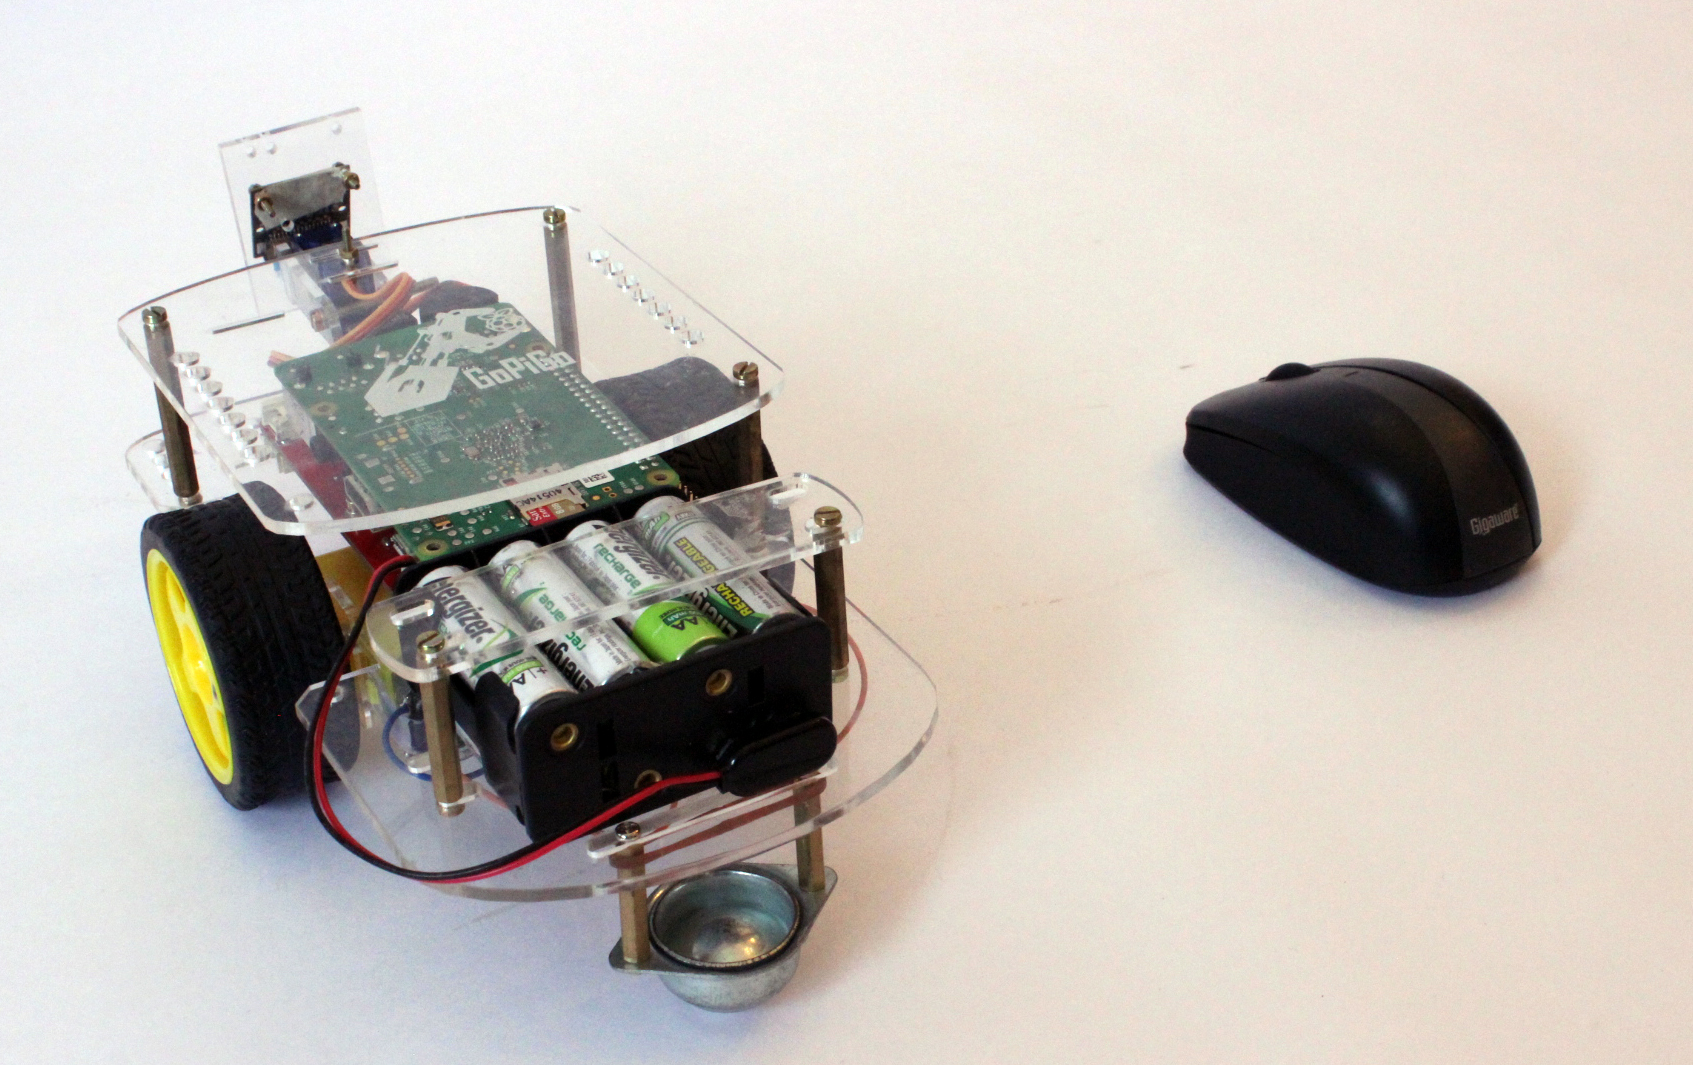
This project shows how control the GoPiGo with a wireless mouse.
The GoPiGo moves in the same way as the mouse. If the mouse is moved left, the GoPiGo moves left, if the mouse is moved right, the GoPiGo moves right, if the mouse is moved up, the GoPiGo moves forward and when the mouse is moved down, the GoPiGo moves back. Left mouse button stops the GoPiGo.
You can try out his example to see how to control the GoPiGo with a mouse and adapt it into projects of your own.
Hardware needed:
- A fully assembled GoPiGo
- A decent battery pack providing atleast 9V (recommended 12V battery pack of 8AA cells )
- Wifi Adapter for connecting and controlling
- A wireless mouse
Connecting the Mouse
- Attach the wireless adapter for the mouse to the Raspberry Pi and power on the mouse
Setting up the GoPiGo
Make sure that the GoPiGo is set up properly and you have the updated software and firmware. If you are not sure about this, follow the guide here.
If the GoPiGo is properly set up, connect to the GoPiGo via VNC and open terminal.
Running the example:
- Open VNC and go to the Mouse control example folder:
cd Desktop/GoPiGo/Software/Python/Examples/Mouse Control/
- Start the mouse_control_movement example
sudo python mouse_control_movement.py
 Press Enter when you are prompted.
To control the GoPiGo from the mouse:- Move the mouse up, down, left or right to control the GoPiGo
- Press the Left mouse button to stop
You can see the mouse movement in the X and Y directions. When you move the mouse fast enough, the GoPiGo will start moving around. Press Ctrl+C to stop.
You can easily adapt this example to any interactive project that you have in mind with the GoPiGo and a wireless mouse.
Have a question? Go check out our support page here or post it on the forums here.


