Plugging in Sensors
The BrickPi has 5 sensor ports. The sensor ports are shown in yellow below, and are labeled SX where “X” is the sensor port number.

Plugging in Motors
The BrickPi has 4 motor ports. The motor ports are shown in blue below. Each port for LEGO motors is labeled “MX” where “X” is the port letter.

Motor ports are highlighted in blue.
Attaching Sensors and Motors

Wrong: The sensor is not pushed all the way in.

Right: The Sensor cable is pushed in until you hear a “snap” as it clicks in place.
Attaching LEGO Parts

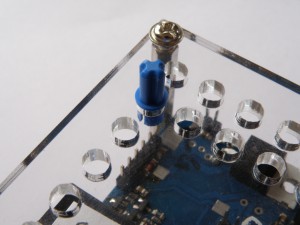
Example: One Peg
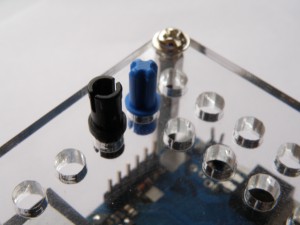
Example: Two pegs.
LEGO Technic parts can be attached to the brick by simply sliding connectors into the holes. Pictures are shown below.
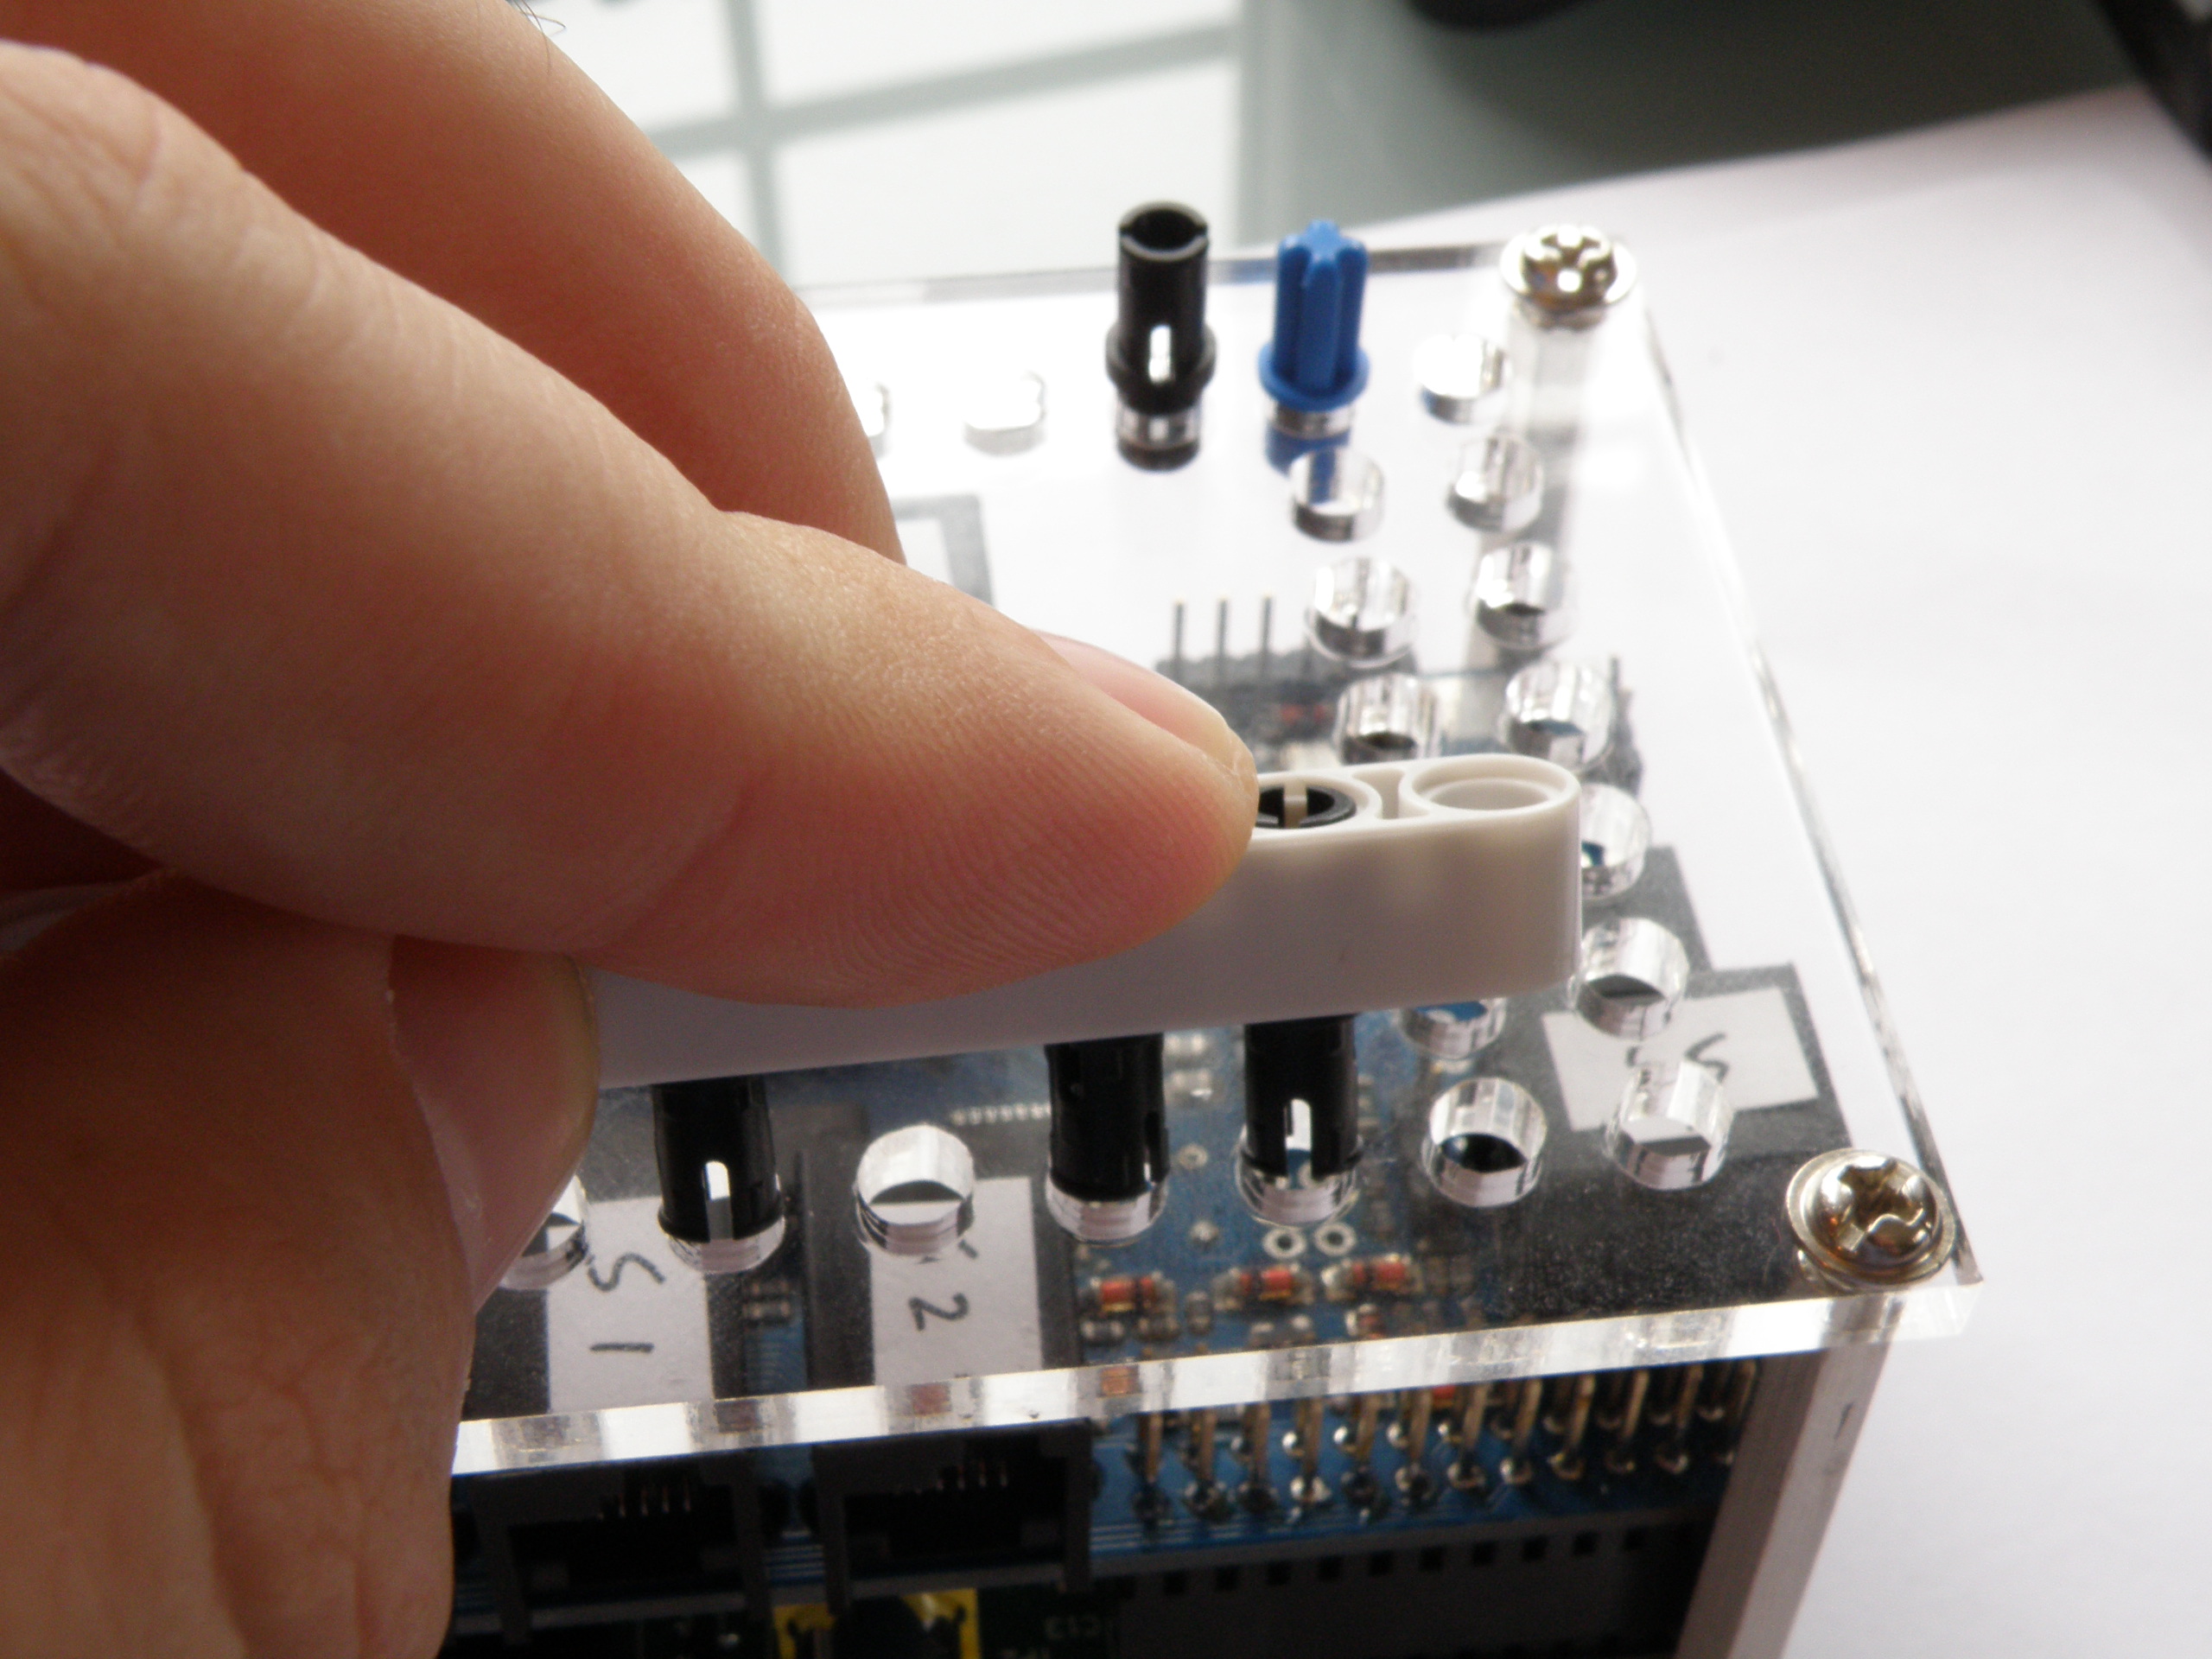
Wrong: Don’t try to place multiple pegs in at once.

If you need to attach multiple pegs, first put them in one at a time.

After placing the pegs into the BrickPi case, next attach the LEGO beam you want to attach to the case.